Putting Your Bees to Bed for Winter
Depending on where you live, you may have to prepare for your hive the winter. That being said, some of the suggestions below may not apply to all beekeepers. Nevertheless, putting your bees into hibernation mode needs to be discussed. I, Matthew Davies, know that the calendar still shows it is October (which is technically still fall). However, it won’t be long before some parts of the country experience those long, dark, cold days. There is a lot to do between now and then, so we should get started.
Determine Your Needs
When determining whether you will need to intervene in the affairs of your bee population, the first step is to assess the weight of the hive. If it feels light, then chances are you are going to have to assist them in surviving through the winter. Start by feeding your bees liquid sugar syrup. To do this, you will mix two parts sugar with one part water. In my opinion, you can’t start this soon enough in the fall. I generally begin my bees on this diet as soon as the weather starts to dip at night. Often, very young bees need more than just the honey they produce in order to survive. Starting early helps ensure that the bees’ taste buds will find the sugar syrup that I have provided them acceptable. Having them eat both early on will guarantee they will have enough food to make it until spring. There is not doubt that honey is better for the bees as it provides them with the nutrients they need. Still, while it is better for the bees to eat the honey they produced, it is better to safeguard from a dying hive by providing them extra food in case they don’t produce enough. Regardless of what your bees are eating, make sure you are checking on them frequently.
Equipment
In addition to supplying your bees with sustenance, you may find it necessary to invest in additional hardware to monitor your bees when you are not on location. During the winter, it is not uncommon for mold to grow in your hives. To prevent this, I recommend making a mold inhibitor. This is done by using homemade fondant, candy boards, or granulated sugar (mountain camp method) rather than syrup. Since our sugar is not engineered for consumption by bees, you will need to add Honey B-Healthy or Pro Health to the mixture to give them added nourishment. You might even consider a pollen patty. The goal here is to make sure that the bees are active enough to prevent mold from growing on their honey and on your hives.
Another piece of equipment that you may consider helpful is a thermal imager. The reason for this is that you do not want dead bees contaminating the honey. Using this device will aid you in locating dead bees so they can be removed. You may need more than one of these depending on the size of your bee colony.
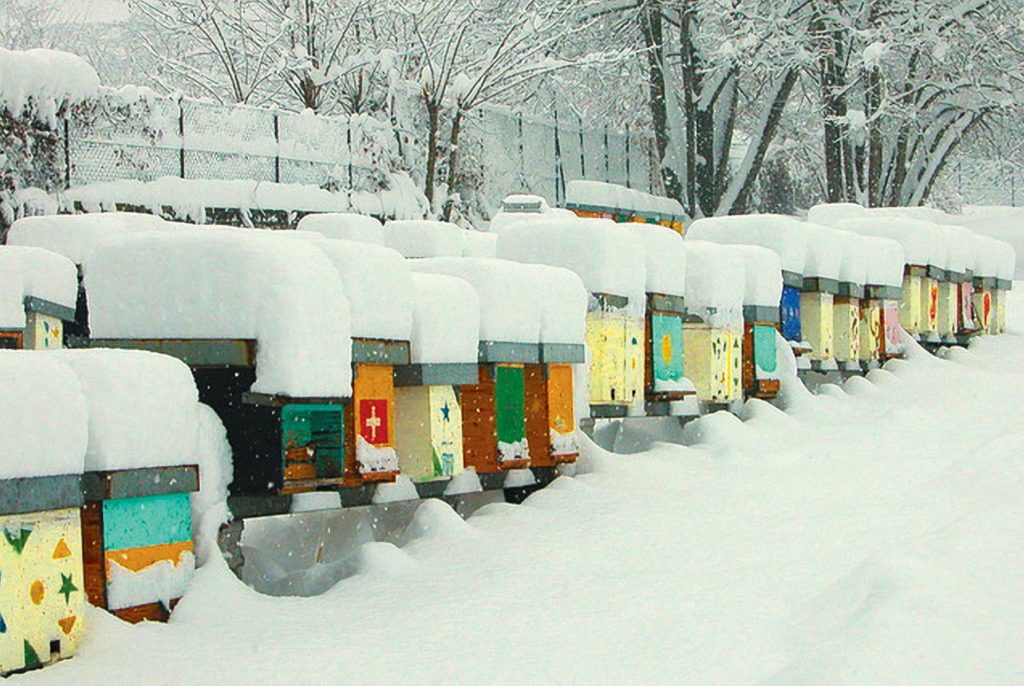
Check Your Hives
Make sure that all of your hives are structurally sound. While bees can tolerate the cold, if snow or water is to drip in during this time, it can equal a death sentence for your bees. Remember that air is the only thing that should be entering your hive, aside from your bees. The air should come from the bottom. Naturally, your bees will want to migrate to the top of the hive where the warmer air exists. Remove everything from your colony and test to make sure water cannot come in from the top. Should you find, water penetrating your hive, you have two choices. You can either repair the colony at the locations where water is present or rebuild the hive. I often reassemble the hive. Since the only thing that can reliably seal a hole is liquid silicon. That is not particularly stimulating to bees.
The Checklist
After you have done the primary steps above, it is time to do one last check to ensure your hives are ready for winter.
- As you have done all spring and summer, treat your hive for mites, hive beetles, and any other diseases you find.
- Place grease patties on each hive. Skipping this step may mean you have to restart your colony from scratch next spring. The grease patties will not stop a full-on invasion of tracheal mites, but it will slow the increase of mites during the winter months.
- Consolidate your hives and remove any extra boxes. It is much better to keep track of a few hives in the winter than it is to check hives that only have a few bees in them. Move all of your bees to just a couple of boxes. Doing this will reduce maintenance time during the cold season.
- Check on the status of your queen. You should see an active brood in every hive you decide to keep. If you don’t see this, order a new queen immediately. Alternately you can combine your queenless colony with a healthy colony.
- Combine your weaker colonies with stronger ones. This goes back to consolidation. Remember, spring, it is better to have one live colony that two dead ones.
- Reduce the number of entrances. Since there will not be a large population of bees entering and exiting, you will not need the same number of openings you do in the summer. It would also be wise to install mouse guards to keep any rodents out of your hives.
- Install a windbreak for your hives. You could easily use bales of hay to accomplish this.
- If you are in one of the northern states with extreme winters, consider wrapping your hives with insulation or tar paper. Don’t forget that you need to ventilate this as not to suffocate your hive.
Conclusion
Following all the suggestions above will ensure that you are ready for winter. I, Matthew Davies, hope that your hives stay alive and well for the coming spring.